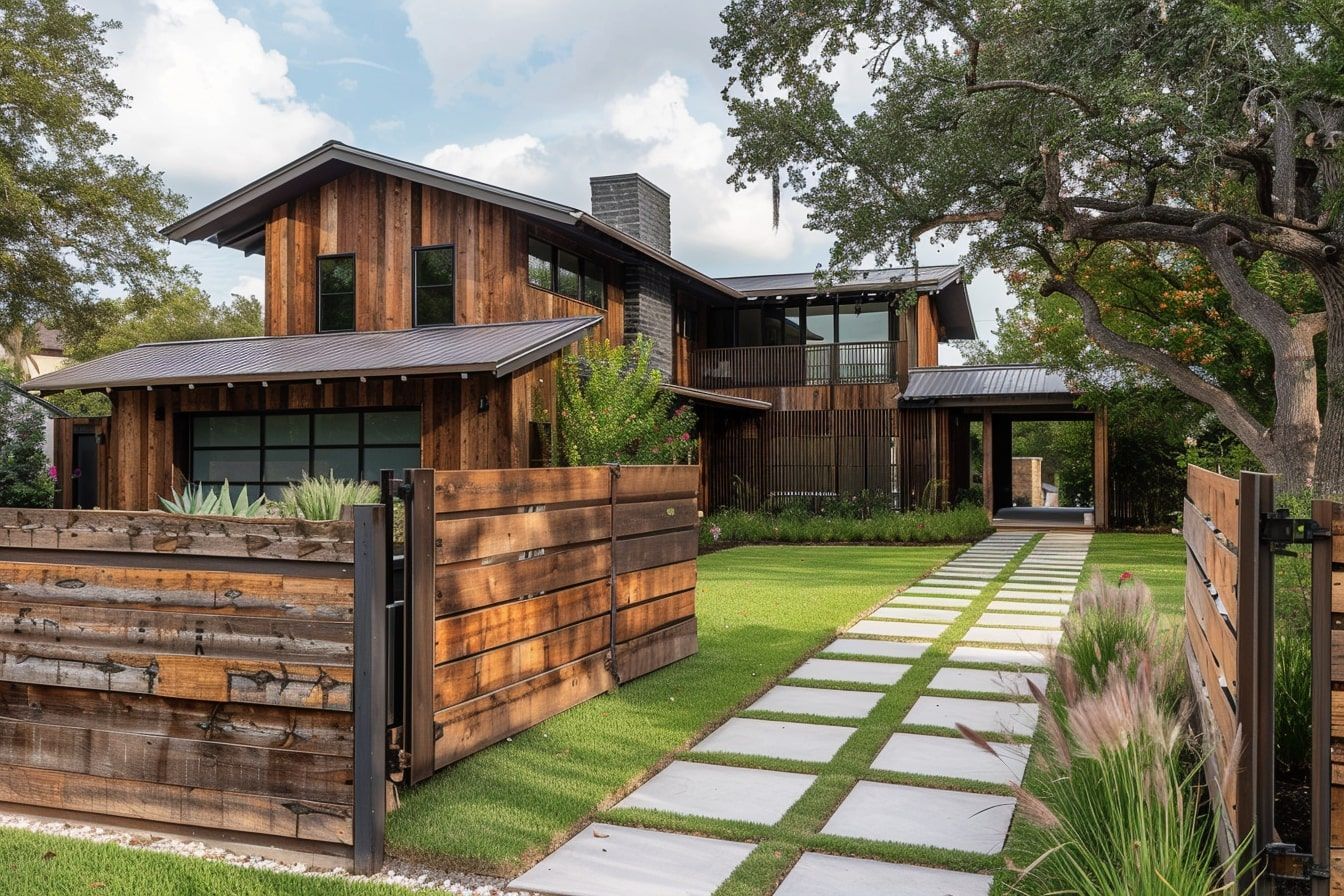
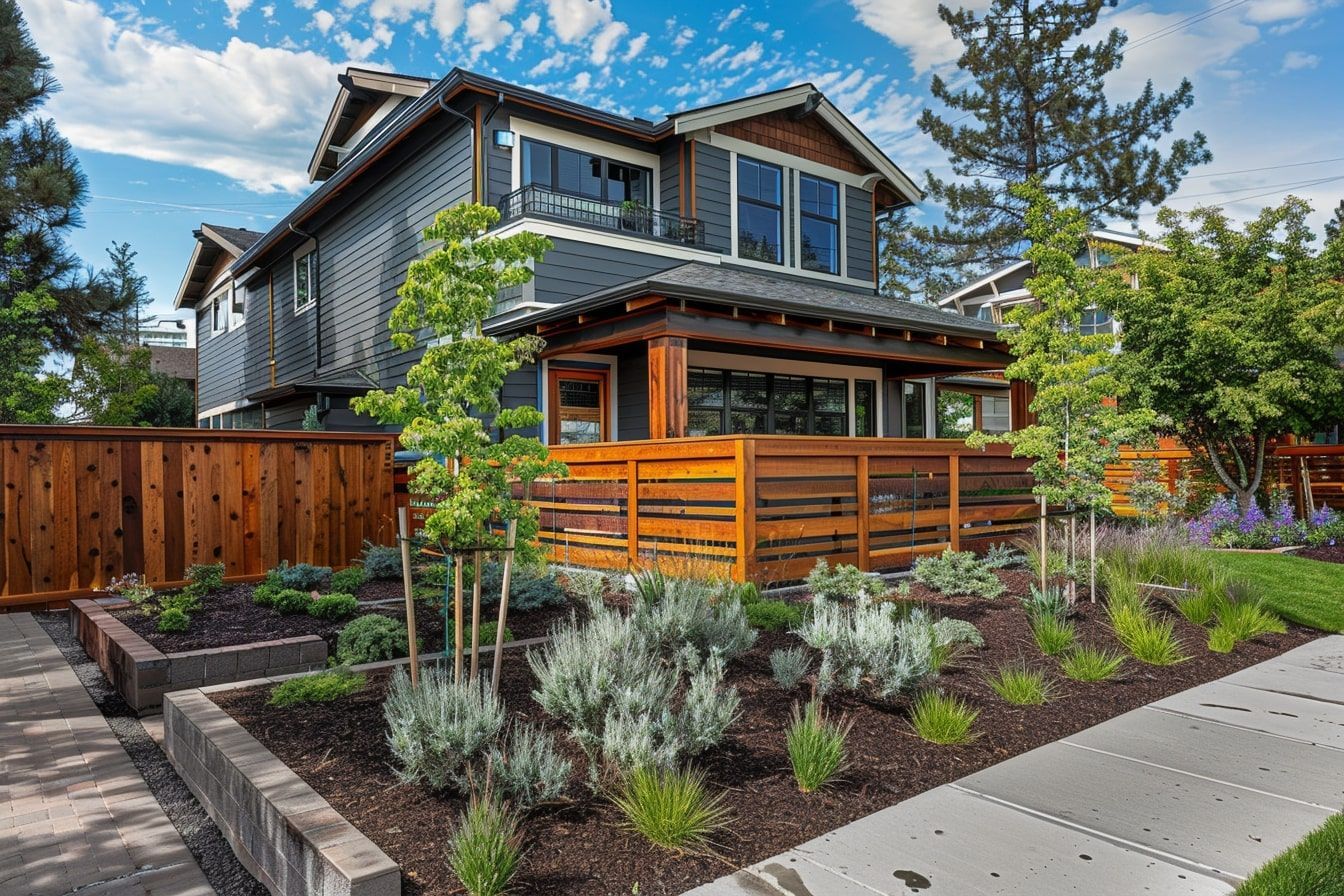
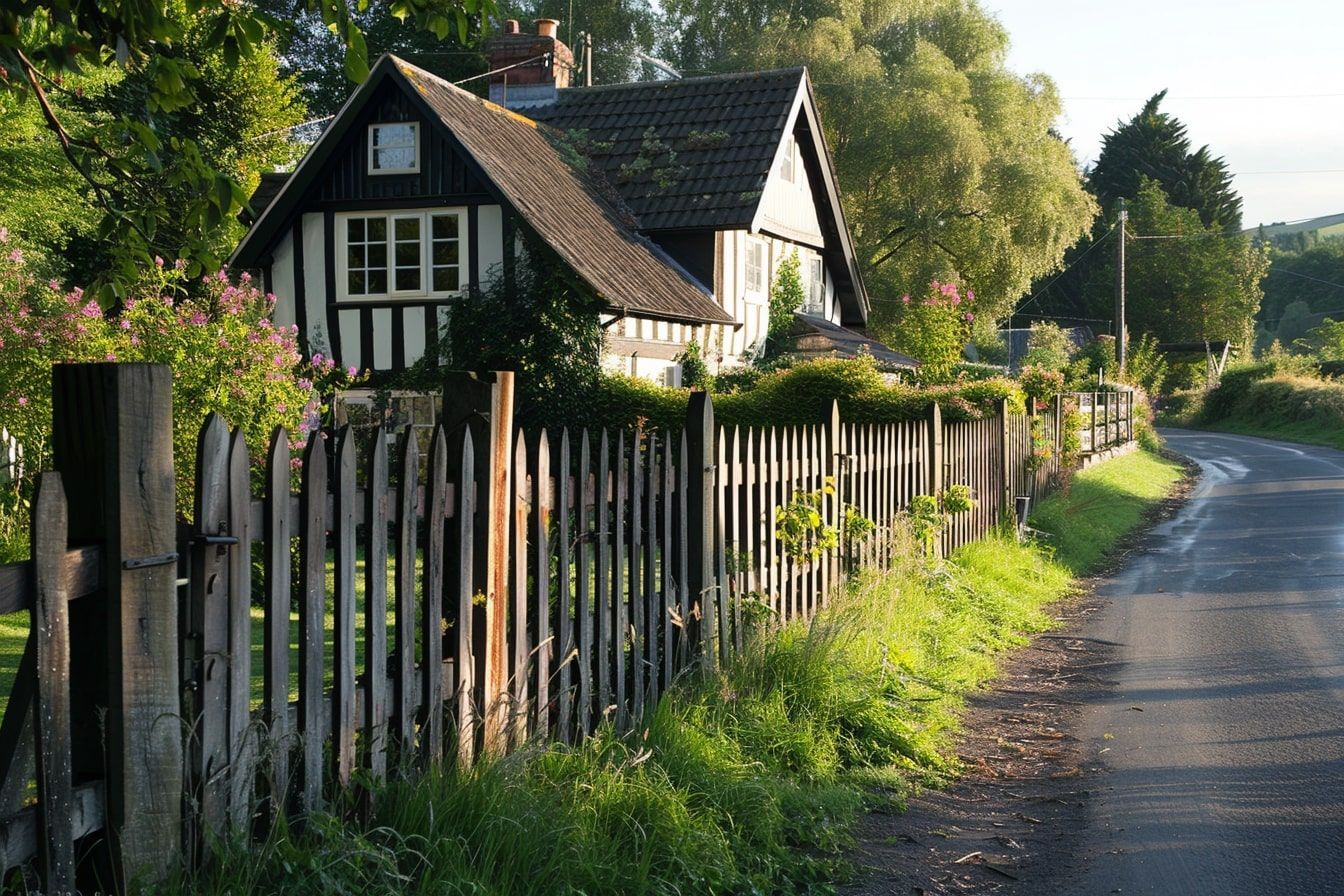
Are you looking to enhance your property with a beautiful wooden fence while supporting local economies and reducing your carbon footprint? Choosing local and sustainable wood for your fencing project is not only an environmentally responsible decision but also a great way to ensure quality and longevity. In this guide, we’ll walk you through the steps to select the best local, sustainable wood for your fence, providing you with practical tips and insights to make an informed choice.
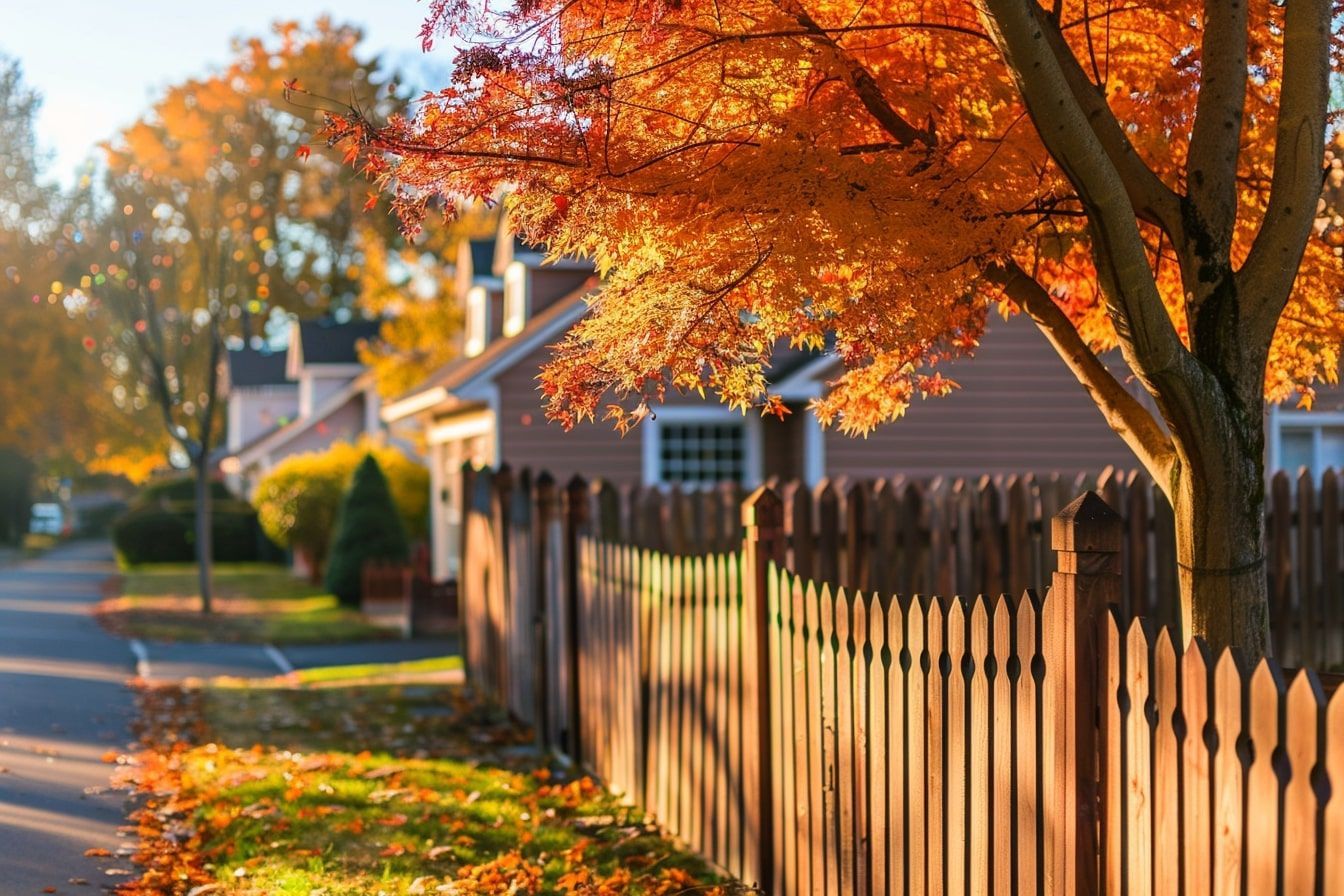
Many homeowners hesitate to choose wood due to misconceptions about its longevity and strength. In this article, we’ll bust the myths surrounding wood fence durability and show you why wood fences can be a reliable and long-lasting choice for your property.
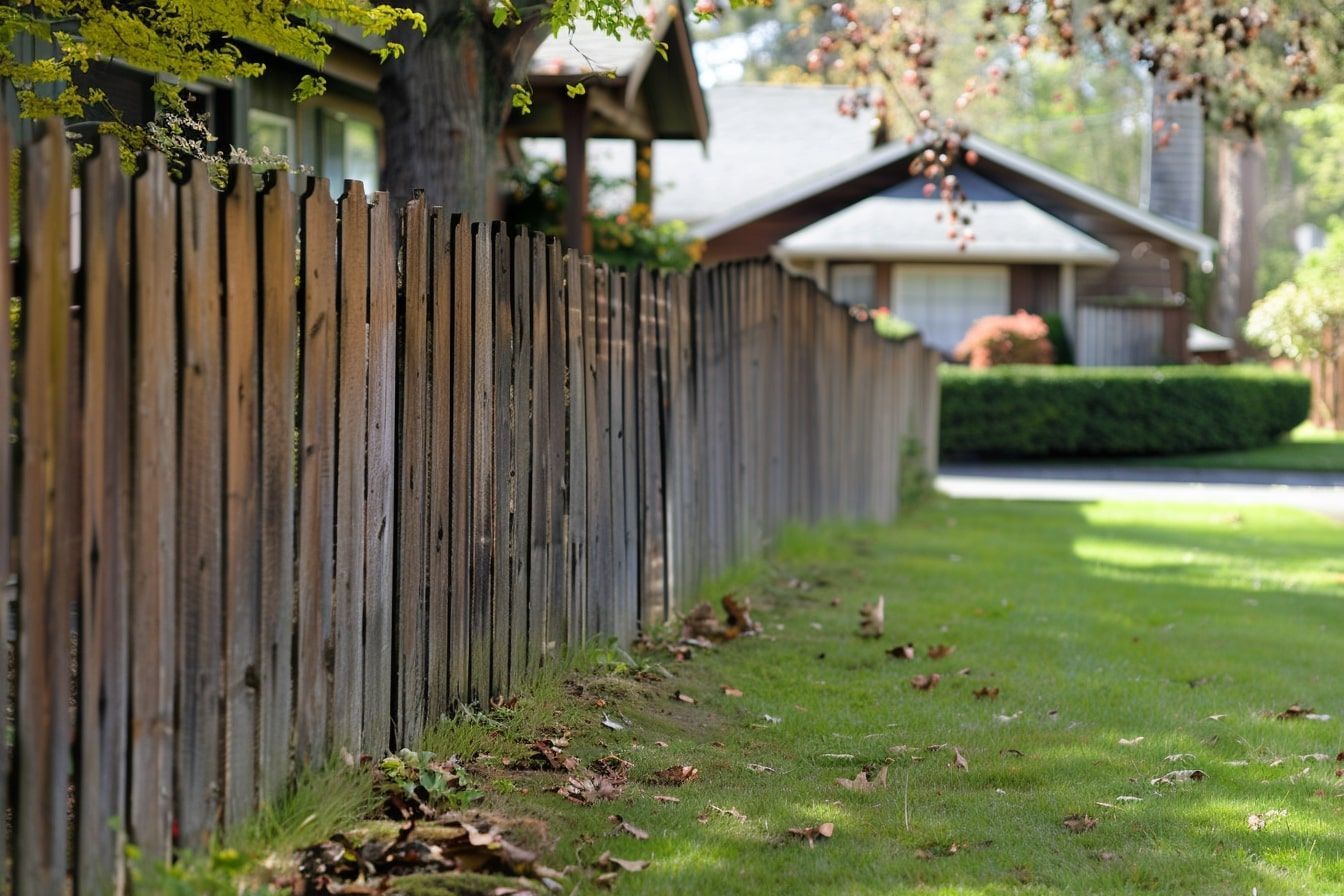
When considering a new fence for your property, have you ever hesitated because you’ve heard that maintaining a wood fence is just too much work? Many people shy away from wood fencing due to perceived maintenance hassles. But what if we told you that these beliefs might be more myth than reality? At RS Fence Installations, we’re here to set the record straight and show you why maintaining a wood fence is easier than you might think.
Understanding the truth about wood fences can help you make an informed decision and enjoy the benefits they offer. In this article, we’ll debunk the top 10 myths about wood fences and set the record straight.
Addressing these issues promptly can restore the beauty and integrity of your fence, ensuring it continues to protect your property effectively. In this comprehensive guide, we’ll walk you through step-by-step instructions to fix and prevent these common issues, helping you maintain a strong and attractive fence for years to come.
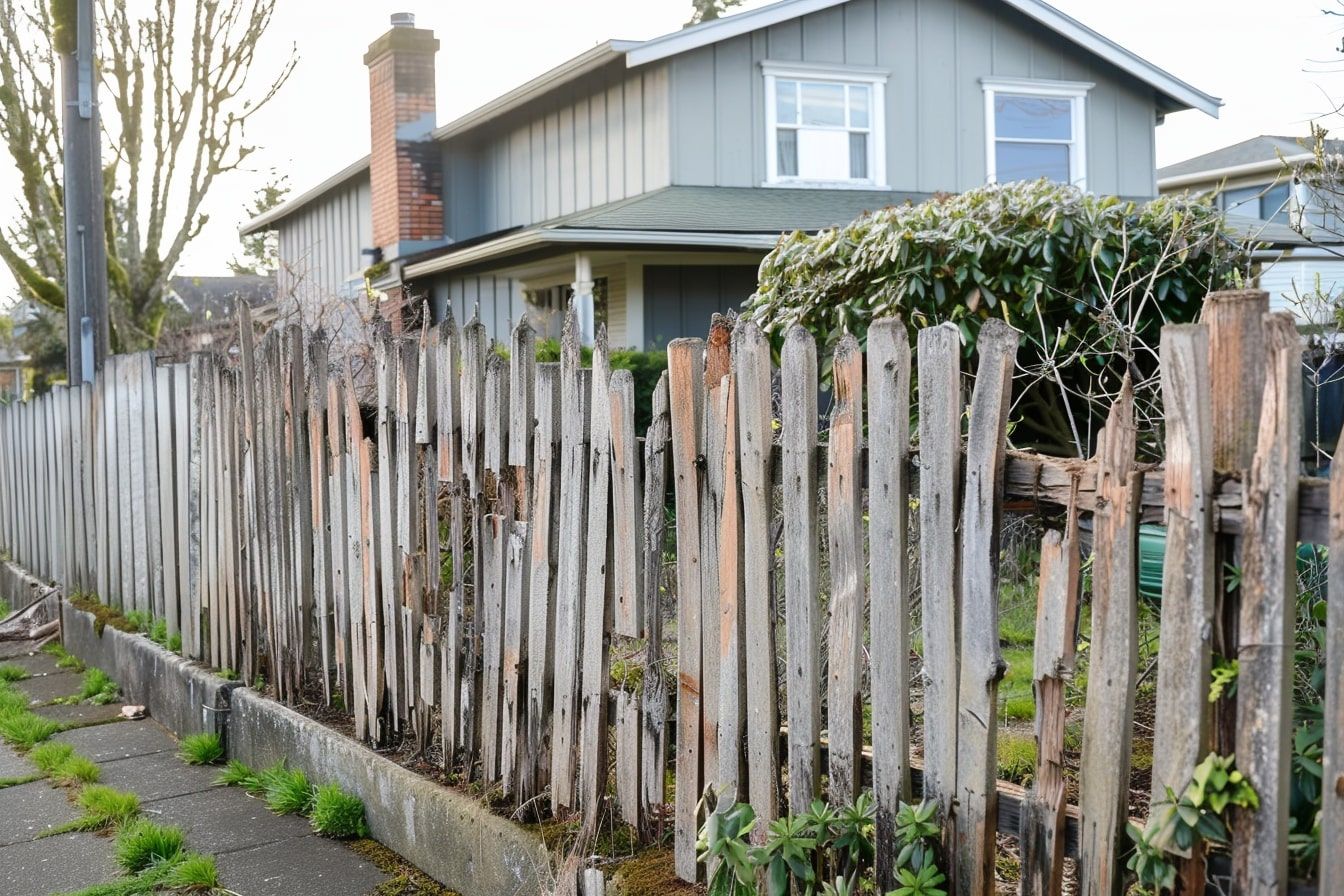
Rot and insect damage are common issues that can compromise the integrity and longevity of your wood fence. Understanding how to identify, prevent, and repair these problems is crucial in maintaining a robust and durable fence. In this comprehensive guide, we will walk you through the steps to tackle rot and insect damage effectively, ensuring your fence remains strong and appealing for years to come.